Some walkers can glide by you without your hearing a single footstep. They do this by rolling through the stride, first landing with the toe pointed as the heel makes contact with the ground and then gradually progressing forward as the toe lowers. In contrast, some walkers land flatfooted. This makes it almost impossible to land with a straightened leg. Other walkers land with a toe pointed, but flatten too quickly. This can make a you walk as if you have square tires.
To fix either of these problems you should practice a subset of the drills, stretches and exercises we’ve already introduced for fixing a bent knee. They are:
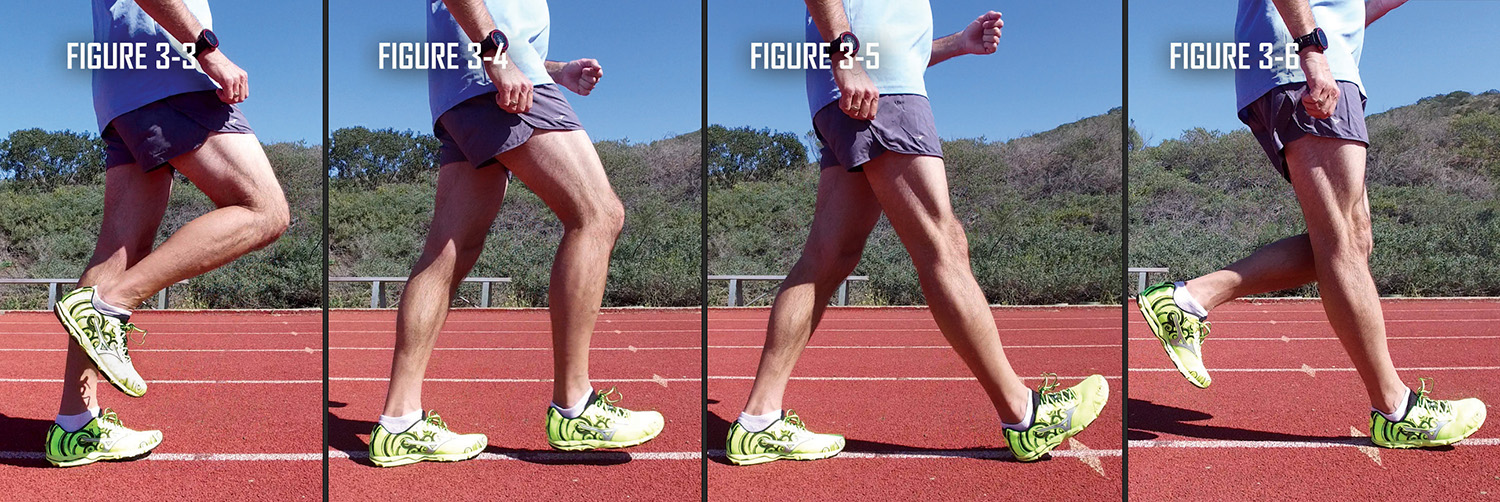
The first 10% of the stride is most important. It’s what helps differentiate a race walker from a speed or health walker. It focuses on heel strike with the toe pointed up. We call it the Foot Plant drill and you must master it before progressing forward.
Steps
- Start by standing with your weight on your rear foot (Figure 3-3).
- Swing your other leg forward (Figure 3-4) from the knee until it fully extends.
- As you do, land with your foot slightly in front of the body, with your toes up and the knee straightened (Figure 3-5).
- Transfer all your weight to that leg (Figure 3-6).
- While virtually standing in place, rock back and forth from one foot to the other emphasizing the heel strike.
- Note that the knee does bend when you rock back.
- Repeat this exercise for both legs.

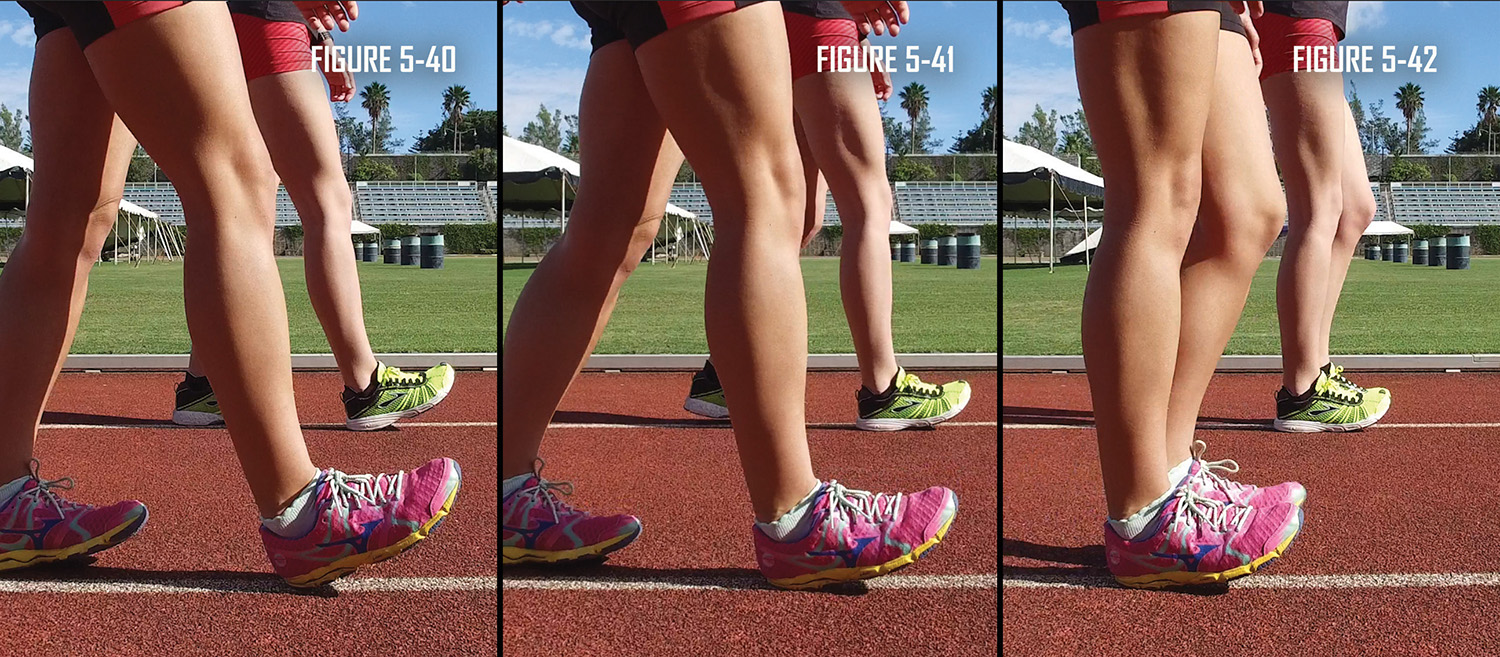
One of the biggest physical causes of bent-knee walking is a lack of adequate shin strength to allow the foot to land with the toe pointed and properly roll through toe off. The single easiest way to strengthen your shins is to walk on your heels.
Body Position
Standing straight up.
Steps
- Walk slowly, with a stride of no more than six inches (Figures 5-40 through 5-42). Remember, it’s not a race.
- Focus on how high you point your toes. The higher you point them, the better and more intensely you work your shins.
- Maintain this technique for 30 meters.
If your shins can’t handle this distance, stop walking on your heels briefly and stretch out your shins (See chapter 5, page 61). Once you have stretched properly, resume heel-walking the remainder of the 30 meters. Upon completion, always stretch out the shins completely. You’ll feel much happier that you did.
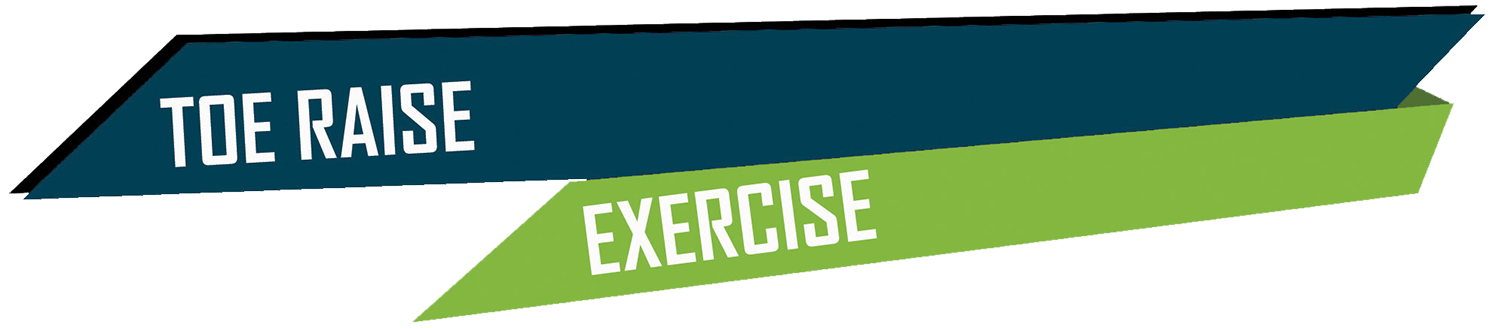
The Toe Raise exercise is another good shin strengthening activity to help you land with your toe pointed and roll through to toe off.
Body Position
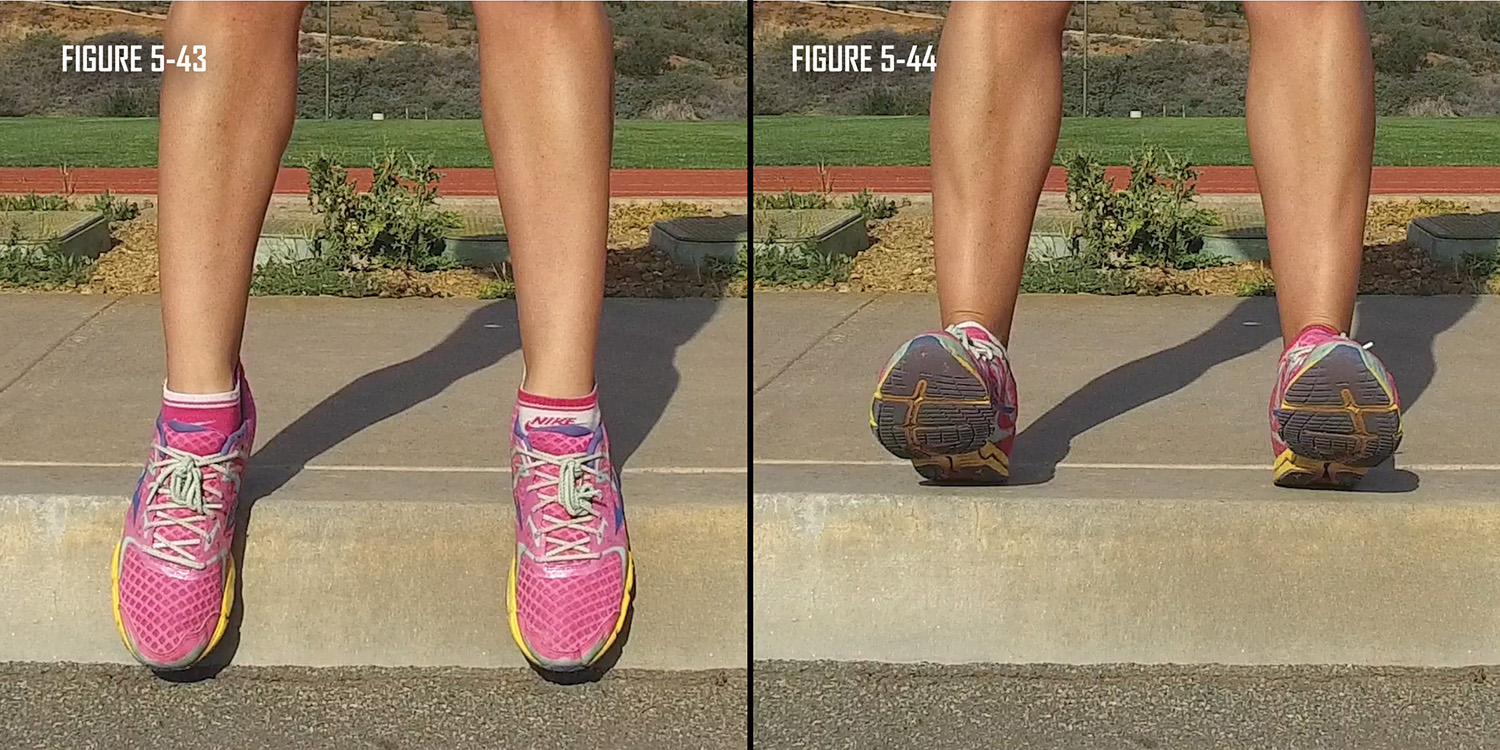
Perform this more advanced shin exercise on the edge of a curb or step. Because balance is sometimes difficult when performing this exercise, make sure that you have a pole, wall, or anything to steady yourself. Facing away from the curb/step, place your heels as close to the edge as possible, taking care to remain steady.
Steps
- Pump your toes up and down as quickly as possible while maintaining balance and form (Figures 5-43 through 5-44).
- Focus on getting your toes up high and low. The greater the range of motion your toes pass through, the better the workout. Upon completion, always stretch out the shins.
Please be cautious. The shin muscles are very small and easily irritated. If you overdo this exercise, the shin muscles will become tight and fatigued, making it difficult to race walk properly.
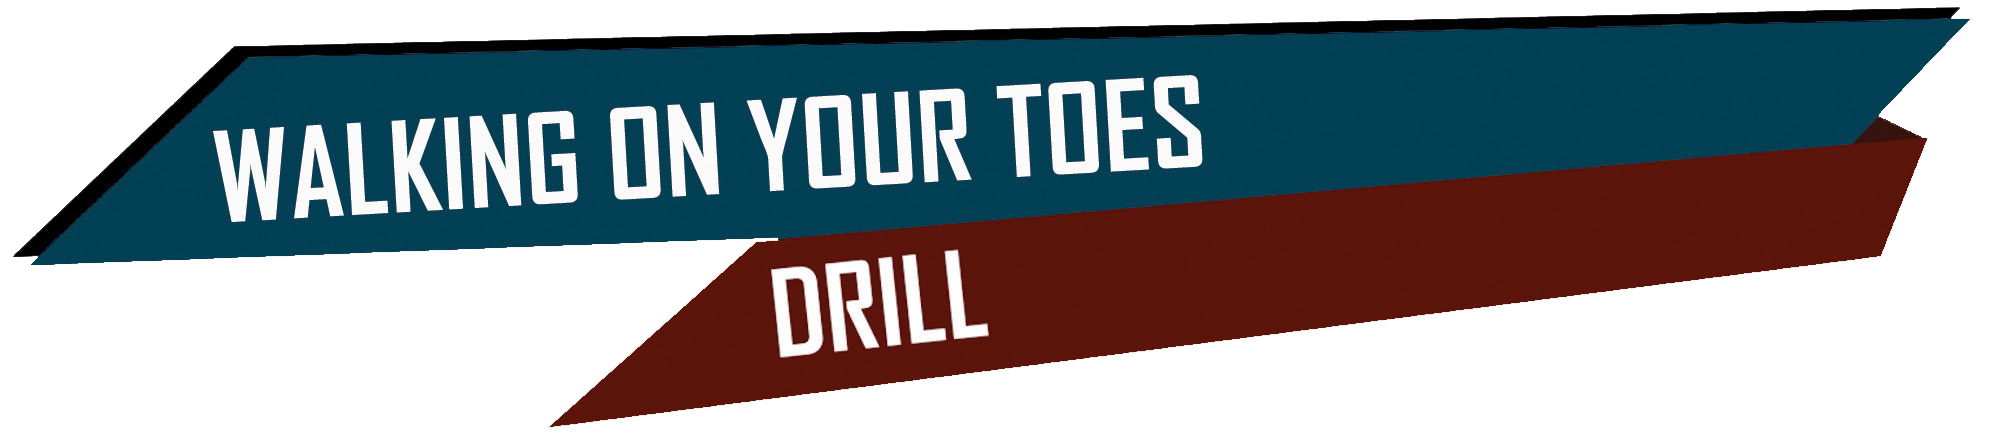
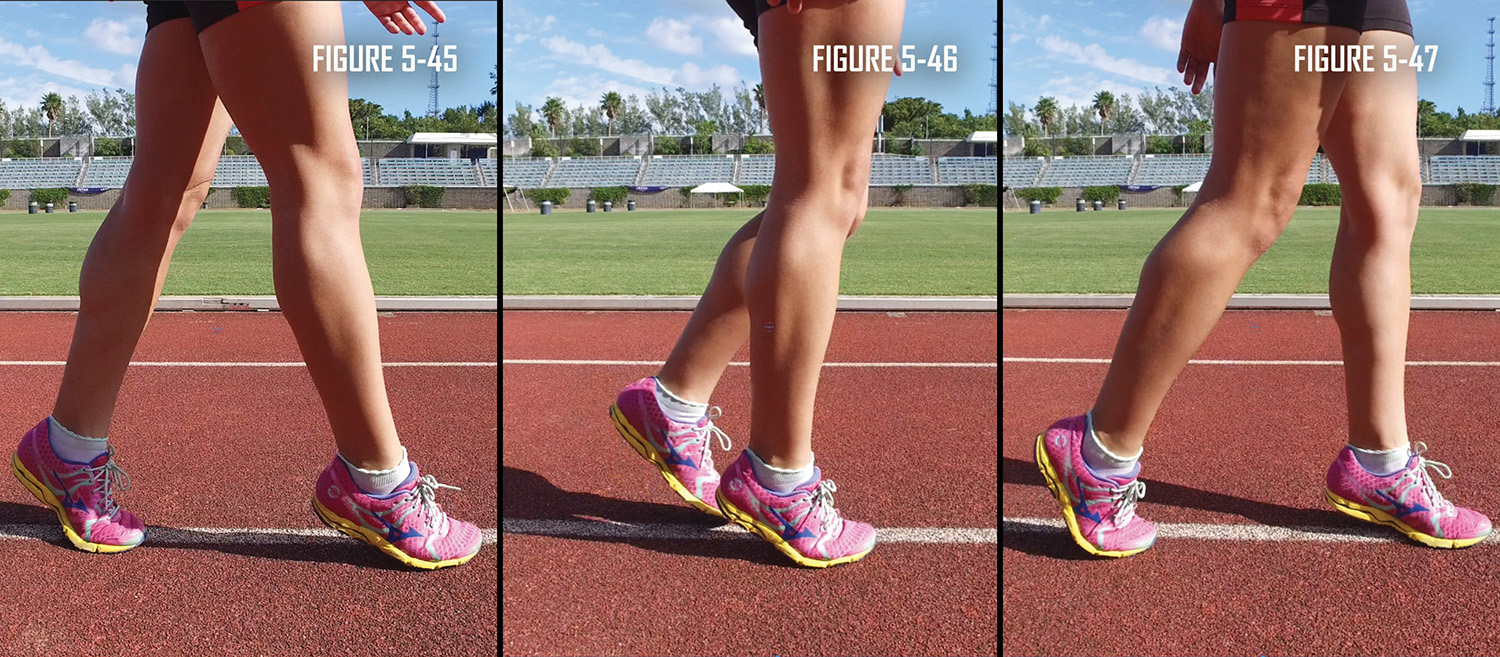
Strengthening muscles involves balance. While athletes often focus on their shins to correct bent-knee walking, they neglect their complementary muscles, the calves. This exercise is similar to the shin strengthening exercise Walk on Your Heels. However, by slowly walking on your toes, you strengthen your calves.
Body Position
Stand with your heels lifted off the ground.
Steps
- Walk slowly, it’s not a race, with a stride of no more than six inches.
- As you walk, focus on keeping your heels as high off the ground as possible (Figures 5-45 through 5-47).
- Walk this way for about 30 meters.
If your calves tire quickly, stop walking on your toes briefly and stretch your calves a bit (see chapter 5, page 57). Then complete the rest of the exercise. If walking 30 meters feels easy, try to go farther. The Calf Raise exercise also strengthens the calf muscles and help balance the shin strengthening exercises. In addition, by doing so, you enable yourself to push off more easily and with greater force.
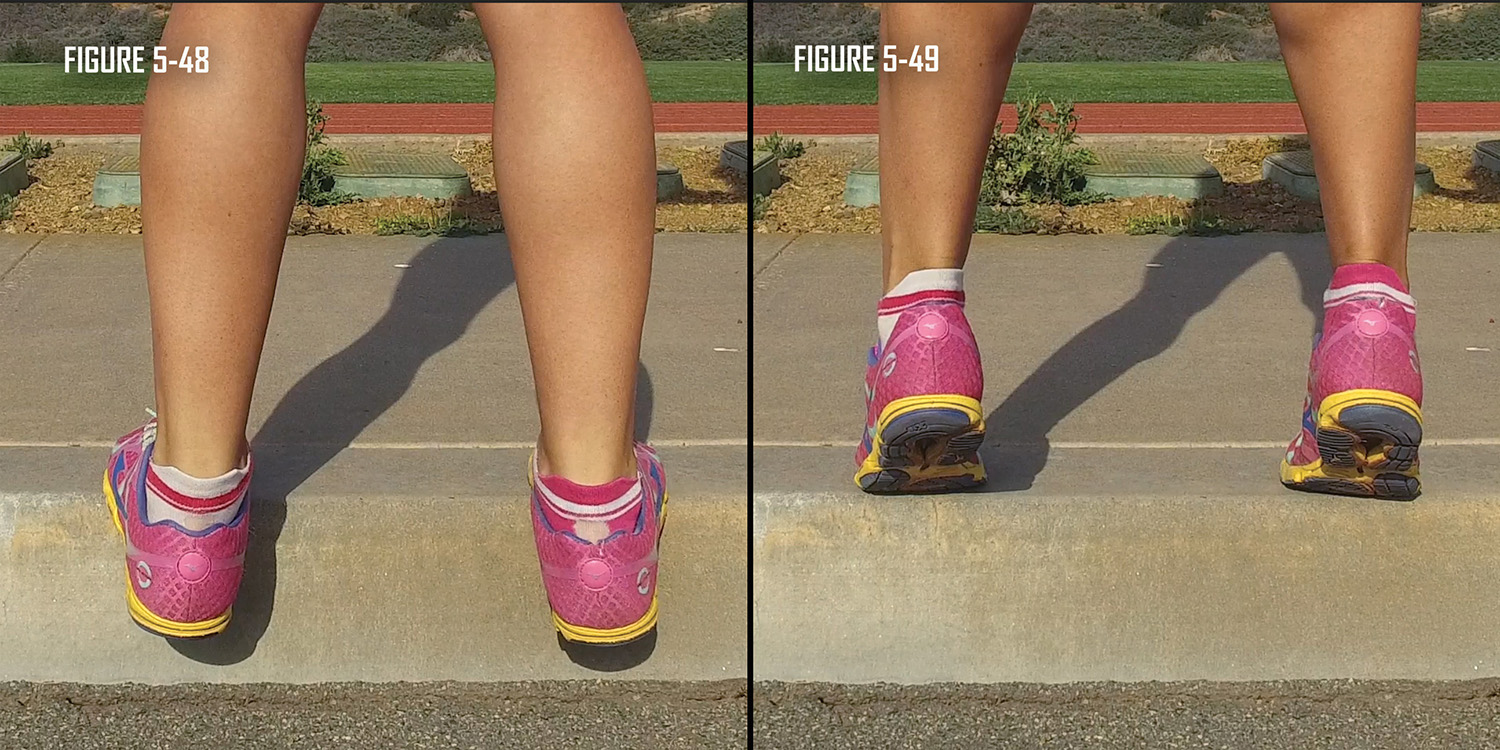
This exercise is best executed with something nearby to help you maintain your balance.
Body Position
Ideally, practice the Calf Raise exercise on a curb near a pole or on a step with a handrail. Find a step or curb and position your toes as close to the edge as possible while still maintaining balance.
Steps
- Place both of your heels beyond the edge, raising and lowering them through a wide range of motion (Figures 5-48 & 5-49).
- Repeat this motion 10 to 15 times, taking care not to cheat by using your upper body for leverage.
- If you are strong enough, try raising and lowering your body on one foot at a time.