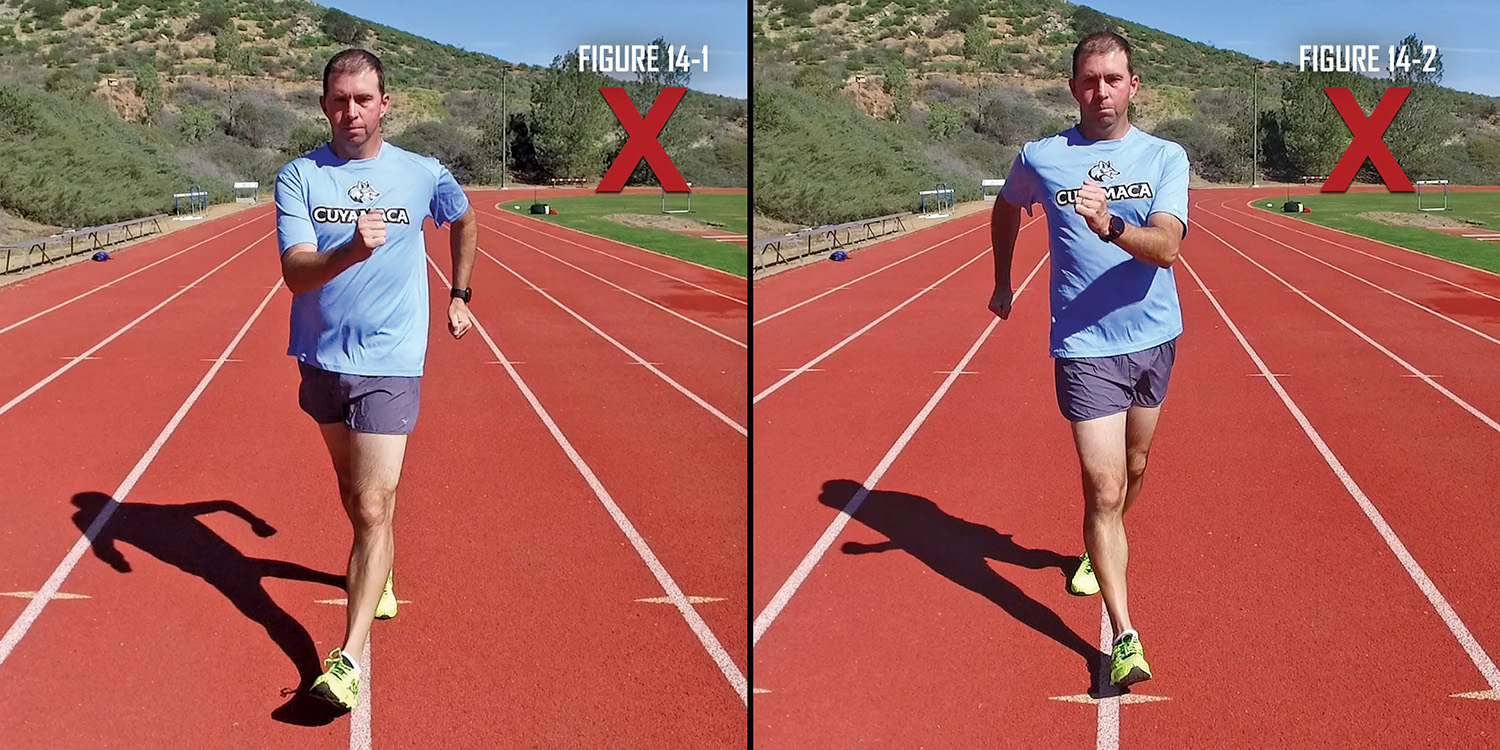
While it’s fairly rare to see a race walker cross one foot over the other (Figures 14-1 & 14-2), it does happen. In fact, we used to speak of it hypothetically until at a recent clinic, a young beginning race walker who lacked the muscle control to keep his legs and feet in line demonstrated this problem as part of his stride. While there are no specific exercises to correct this, use the following two visualizations to correct crossover problems.
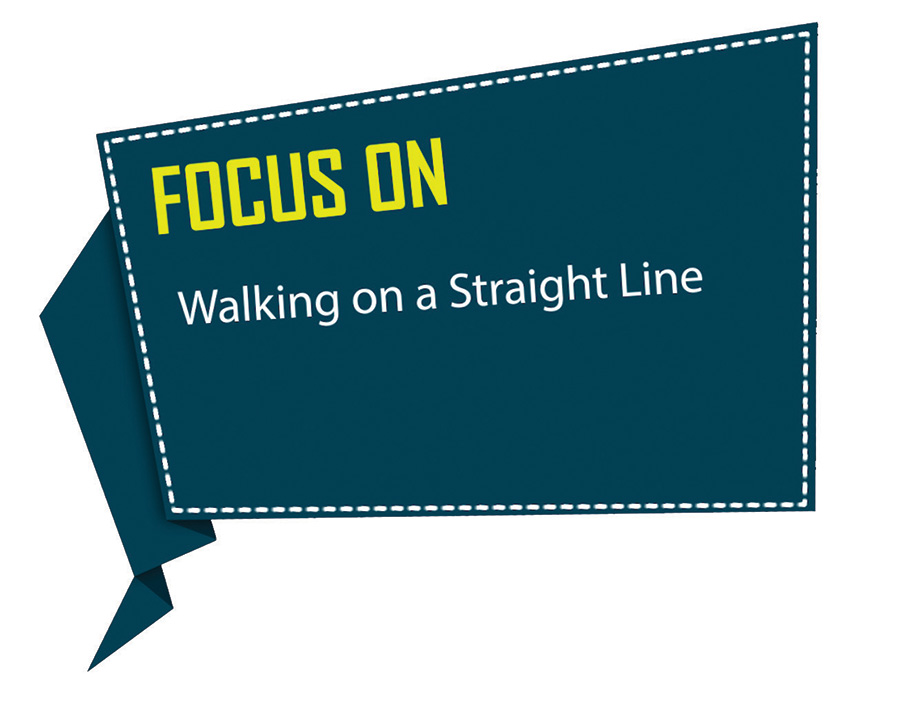
Focus on walking on a straight line. If you are crossing over the line, then you are wasting effort to the side instead of driving yourself forward.
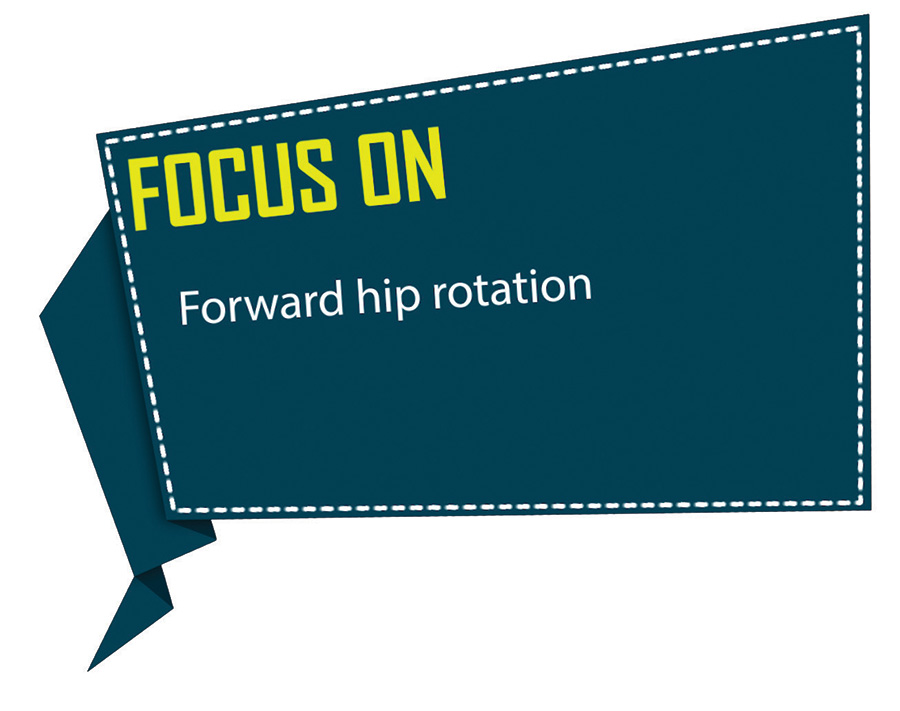
Focus on bringing your arms to the center point in front of your body in line with your sternum as shown in Figures 13-3 & 13-4. Synchronize the placement of your feet, so that they land “underneath” your hands.


A side effect of rotating your hips forward is that your feet land in a straight line. Therefore, when you perform the Straight Line Walking drill by literally race walking along a straight line, your tendency to sway outward with your hip is reduced.
Body Position
This drill is performed while race walking.
Steps
- Race walk along a straight line, such as a lane divider of a track (Figures 9-1 & 9-2).
- As you walk, focus on your hips, reaching forward as the advancing leg swings forward.


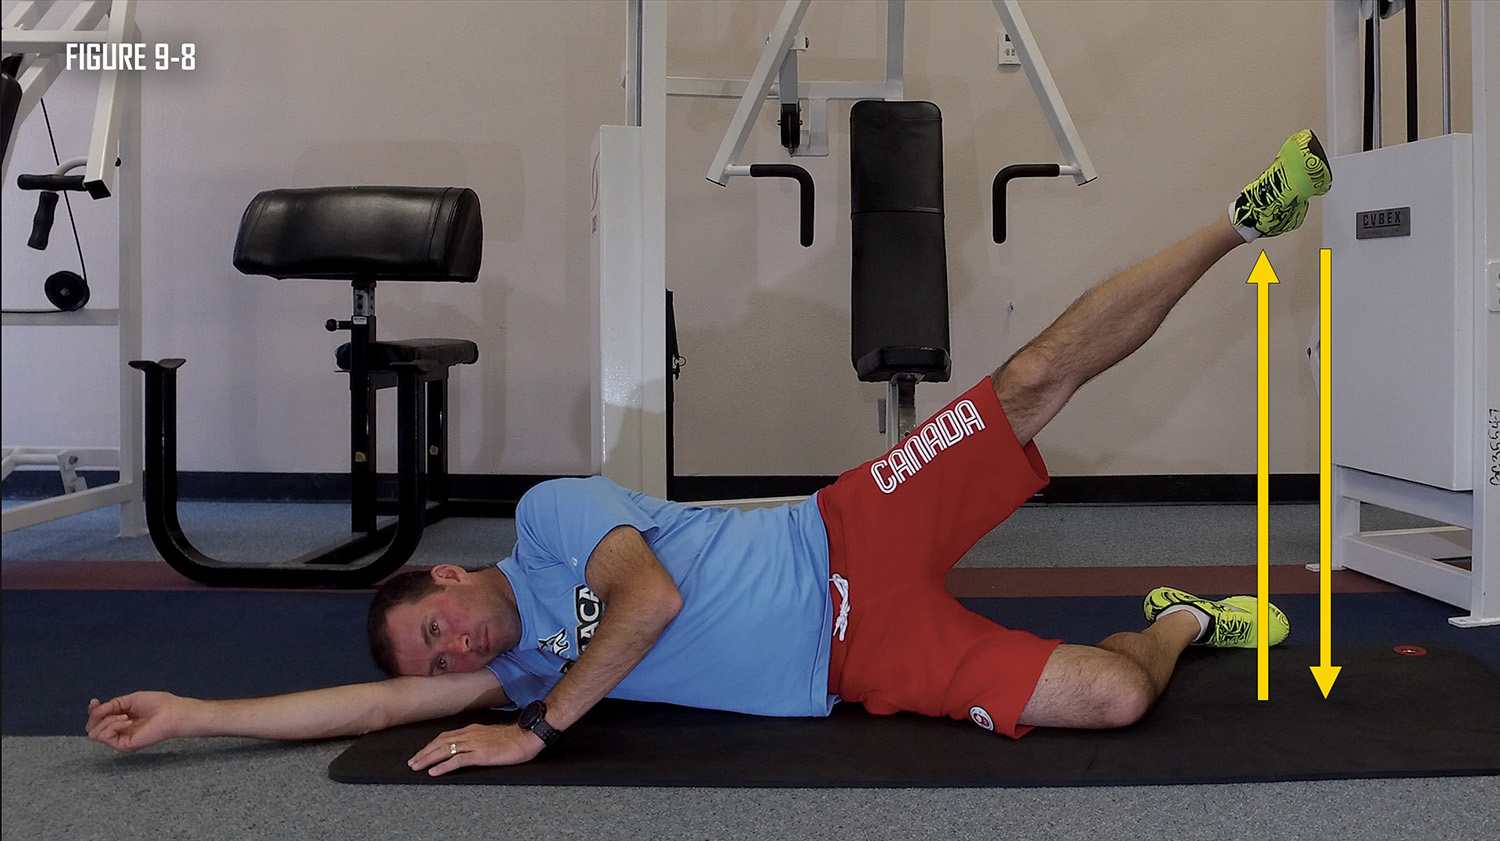
For those with excessive hip drop, the Side Straight Leg Raise exercise strengthens the hip abductors without the need to go to the gym. Weak hip abductors are one reason the hip may drop excessively in race walking.
This exercise can be done with or without a light ankle weight. Start without weight and gradually add light weights, building up to but never exceeding 10 percent of your body weight.
Body Position
Lay on your side with both legs extended. Your lower leg may be slightly bent for balance, while your top leg should be fully extended. Additionally, your lower arm is extended, and your upper arm is used for support.
Steps
- Slowly raise the top leg, while keeping it straight, to about 45 degrees; hold it there for a second, and then gradually lower it (Figure 9-8).
- Repeat this exercise 20 times with one leg, then switch and repeat with the other leg.

For those with excessive hip drop, the Lower Side Straight Leg Raise exercise strengthens the hip adductors without the need to go to the gym. Weak hip adductors are one reason the hip may drop excessively in race walking.
This exercise can be done with or without a light ankle weight. Start without weight and gradually add light weights, building up to but never exceeding 5 percent of your body weight.
Body Position
Lay on your side with the lower leg extended out straight and the upper leg bent in a triangular position. Additionally, your lower arm is extended, and your upper arm is used for support.
Steps
- Slowly raise the lower leg, while keeping it straight, to about 15 degrees; hold it there for a second, and then gradually lower it (Figure 9-9).
- Repeat this exercise 20 times with one leg, then switch and repeat with the other leg.


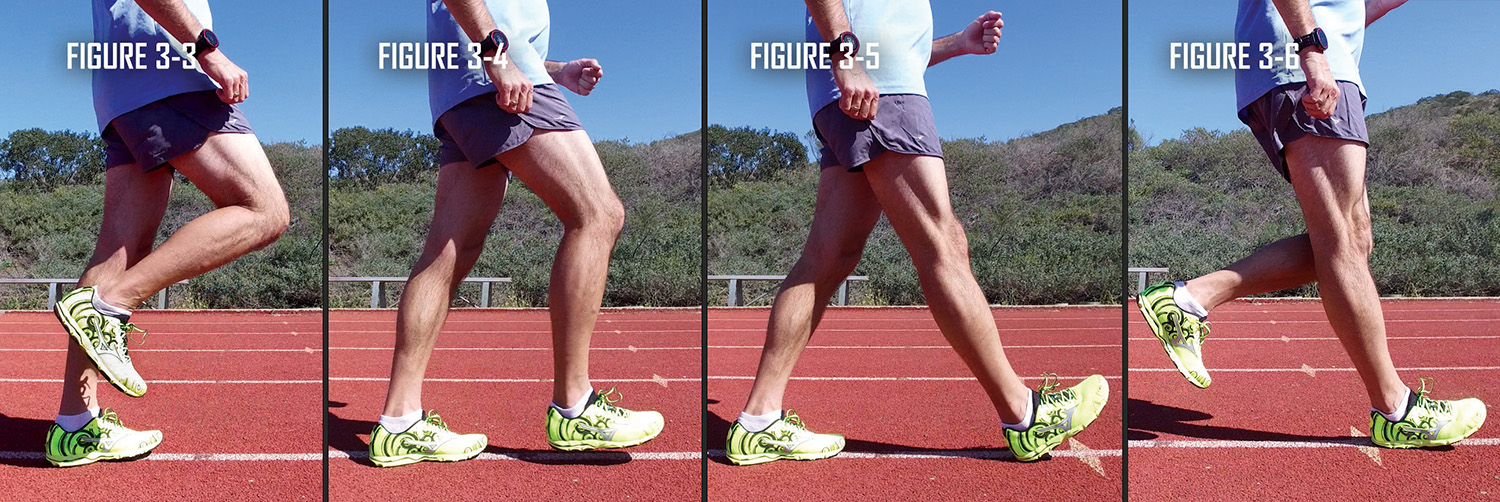
The first 10% of the stride is most important. It’s what helps differentiate a race walker from a speed or health walker. It focuses on heel strike with the toe pointed up. We call it the Foot Plant drill and you must master it before progressing forward.
Steps
- Start by standing with your weight on your rear foot (Figure 3-3).
- Swing your other leg forward (Figure 3-4) from the knee until it fully extends.
- As you do, land with your foot slightly in front of the body, with your toes up and the knee straightened (Figure 3-5).
- Transfer all your weight to that leg (Figure 3-6).
- While virtually standing in place, rock back and forth from one foot to the other emphasizing the heel strike.
- Note that the knee does bend when you rock back.
- Repeat this exercise for both legs.